How to turn any local AI model into a reasoning model
In this article, we will explore how to transform a standard local AI model into a reasoning AI model using the Ozeki AI Server. While standard AI models generate responses based solely on their trained data, reasoning AI models go a step further by providing logical explanations and justifications for their answers.
What is Reasoning AI model?
A Reasoning AI model is a sophisticated form of artificial intelligence that extends beyond basic pattern recognition by incorporating logical reasoning, inference, and decision-making based on given data. Unlike traditional AI models, which depend primarily on predefined rules and extensive datasets, reasoning AI models are designed to simulate human-like thinking by analyzing information, making deductions, solving problems, and adapting to new scenarios.
Response with reasoning (Quick Steps)
- Open Ozeki AI Server
- Create a new local model
- Select model file
- Enable reasoning
- Enable chatbot
- Ask a question
- Receive answer with reasoning
Response with reasoning (Video tutorial)
In this video, we will show how an AI model functions on the Ozeki AI Server when it provides responses with reasoning. You will see how the AI not only generates answers but also explains the thought process behind its conclusions. Additionally, we will guide you through the setup process, demonstrating how to enable reasoning features to enhance the AI's ability to justify its responses.
Step 1 - Open Ozeki AI Server
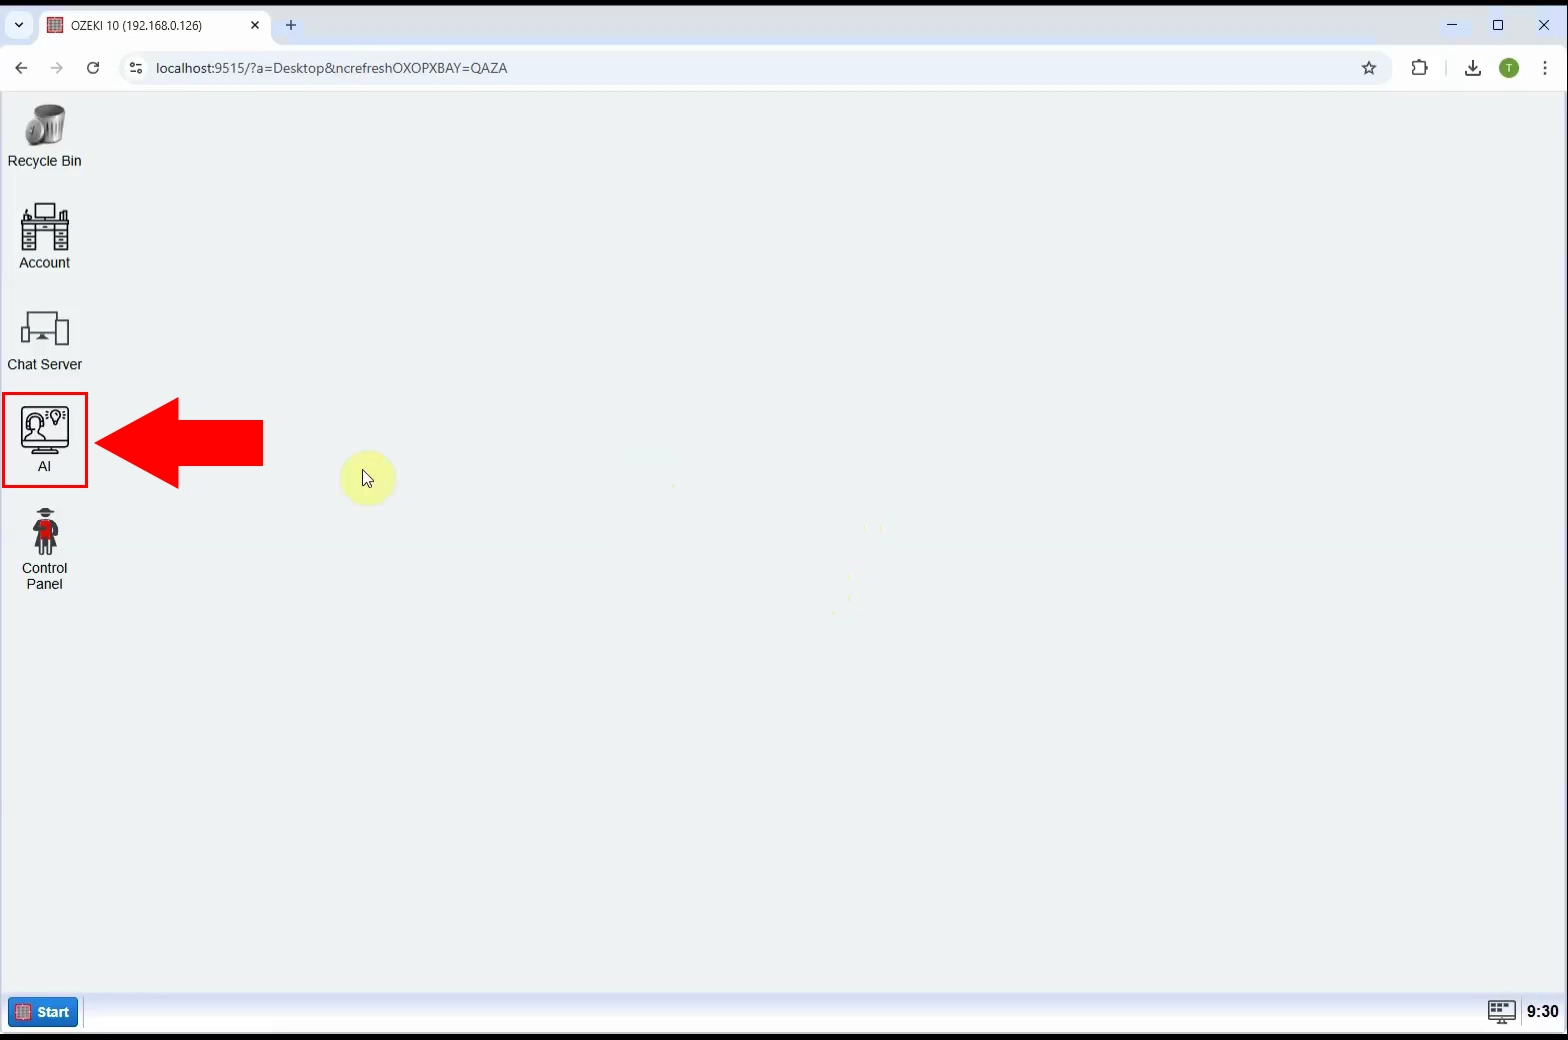
Open the Ozeki 10 application. If you haven't installed it yet, you can download it from the provided link. After launching the application, navigate to and start the Ozeki AI Server (Figure 1).
Step 2 - Create new local model
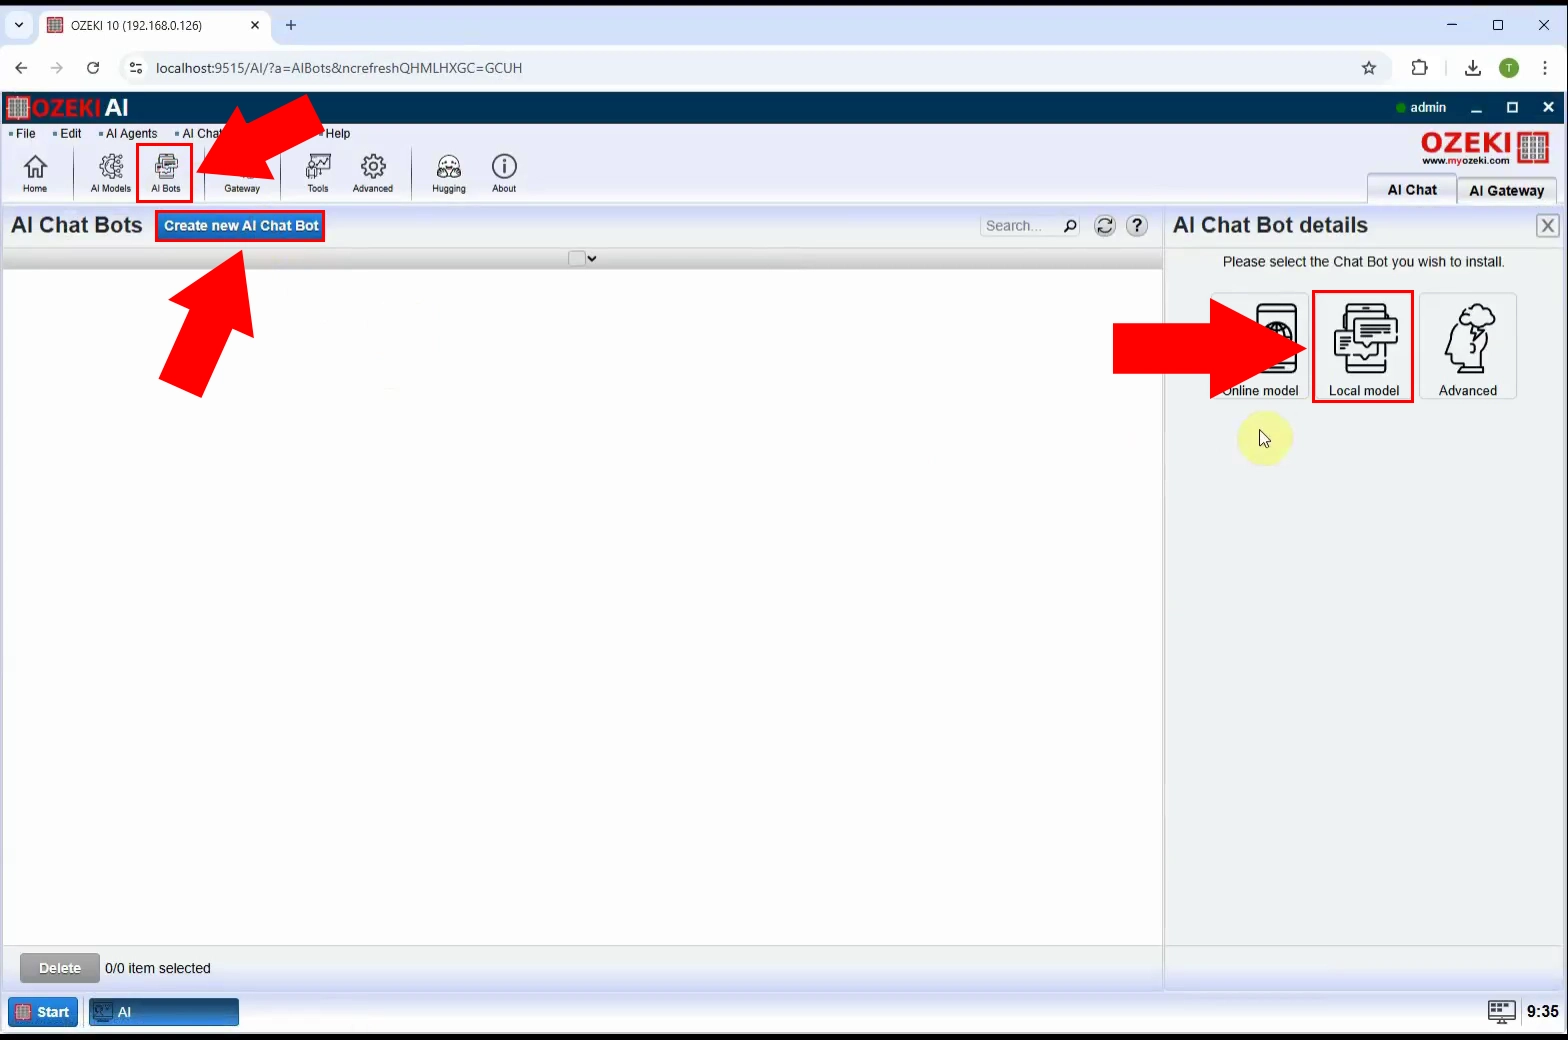
At the top of the screen, click on "AI bots". Then, press the blue "Create New AI Chat Bot" button and choose "Local model" from the options on the right side (Figure 2).
Step 3 - Select model file
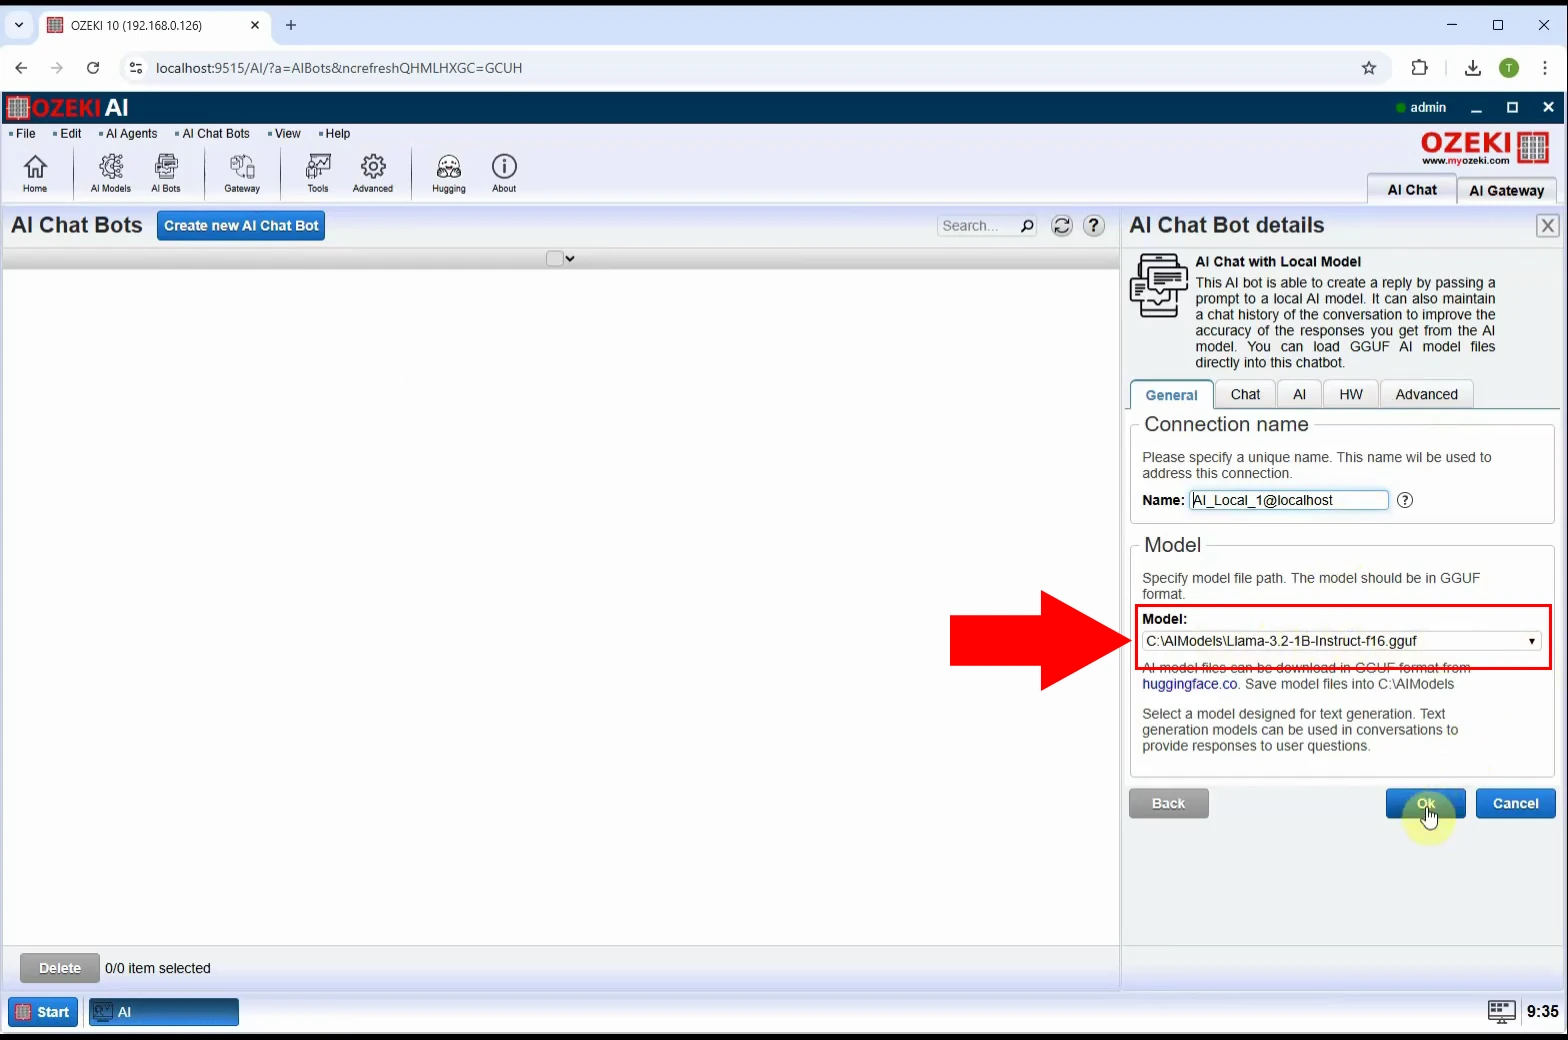
Select an AI model that has already been downloaded. In this case, choose "Llama-3.2-1B-Instruct-f16.gguf" (Figure 3).
Step 4 - Enable reasoning
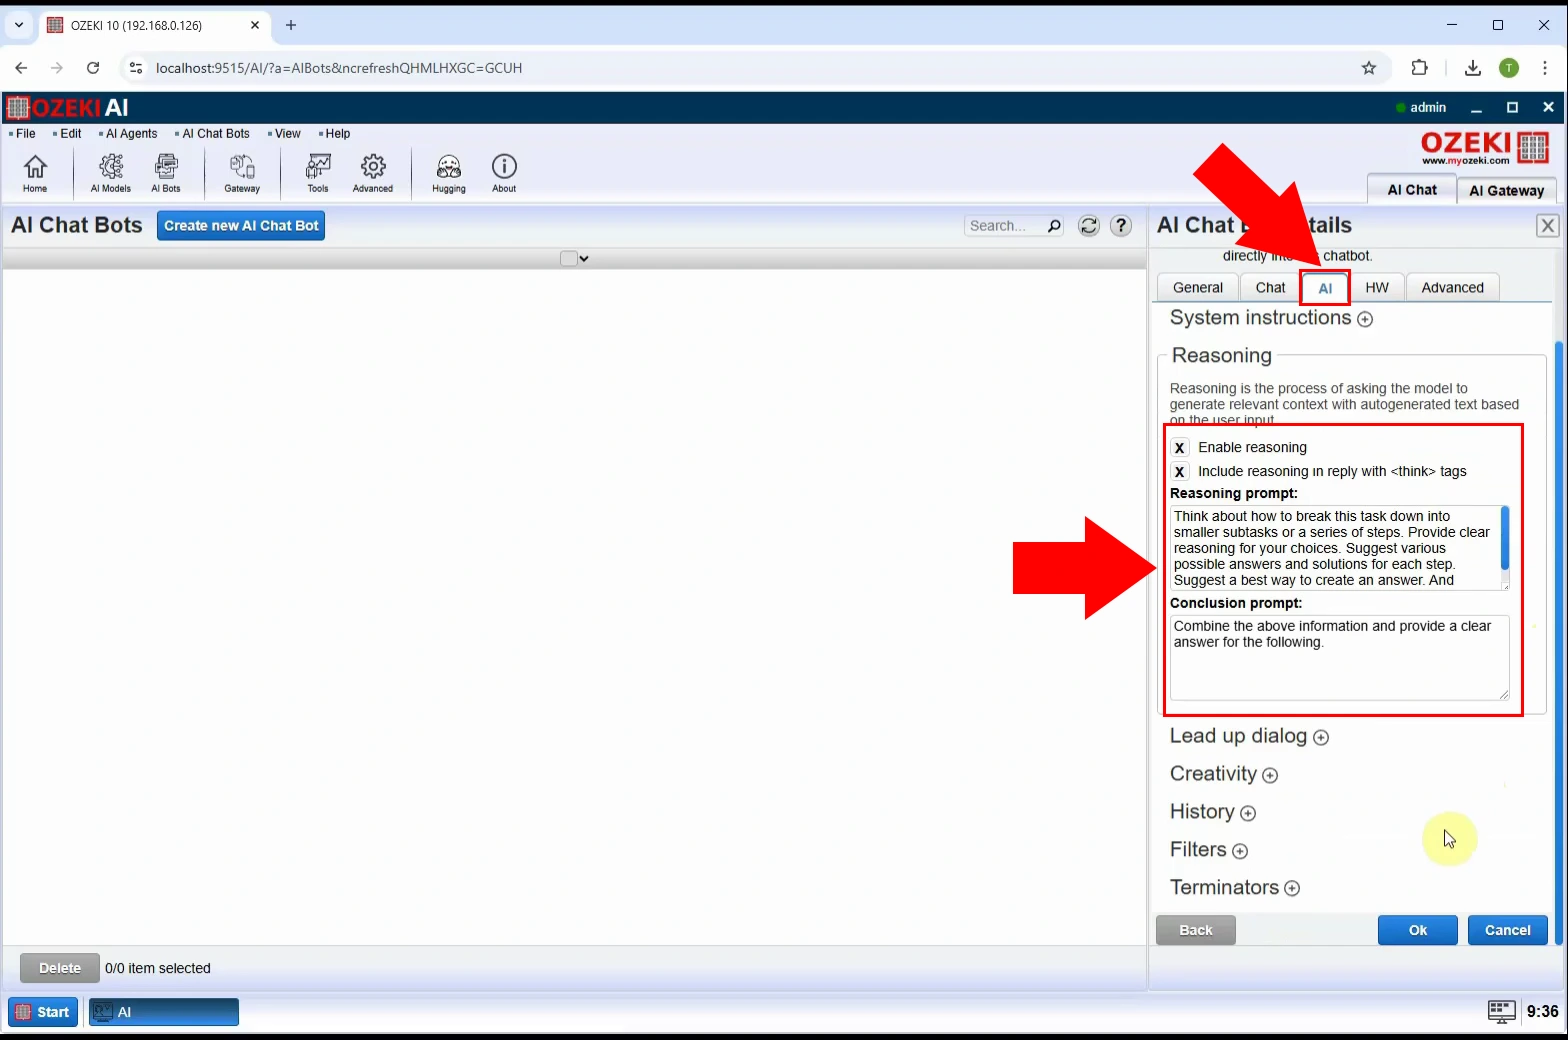
Once the model is selected, navigate to the "AI" tab, open the "Reasoning" menu, and enable "Reasoning" by checking both "Enable reasoning" and "Include reasoning in reply with tags". Finally, click "OK" to apply the settings (Figure 4).
Step 5 - Enable chatbot
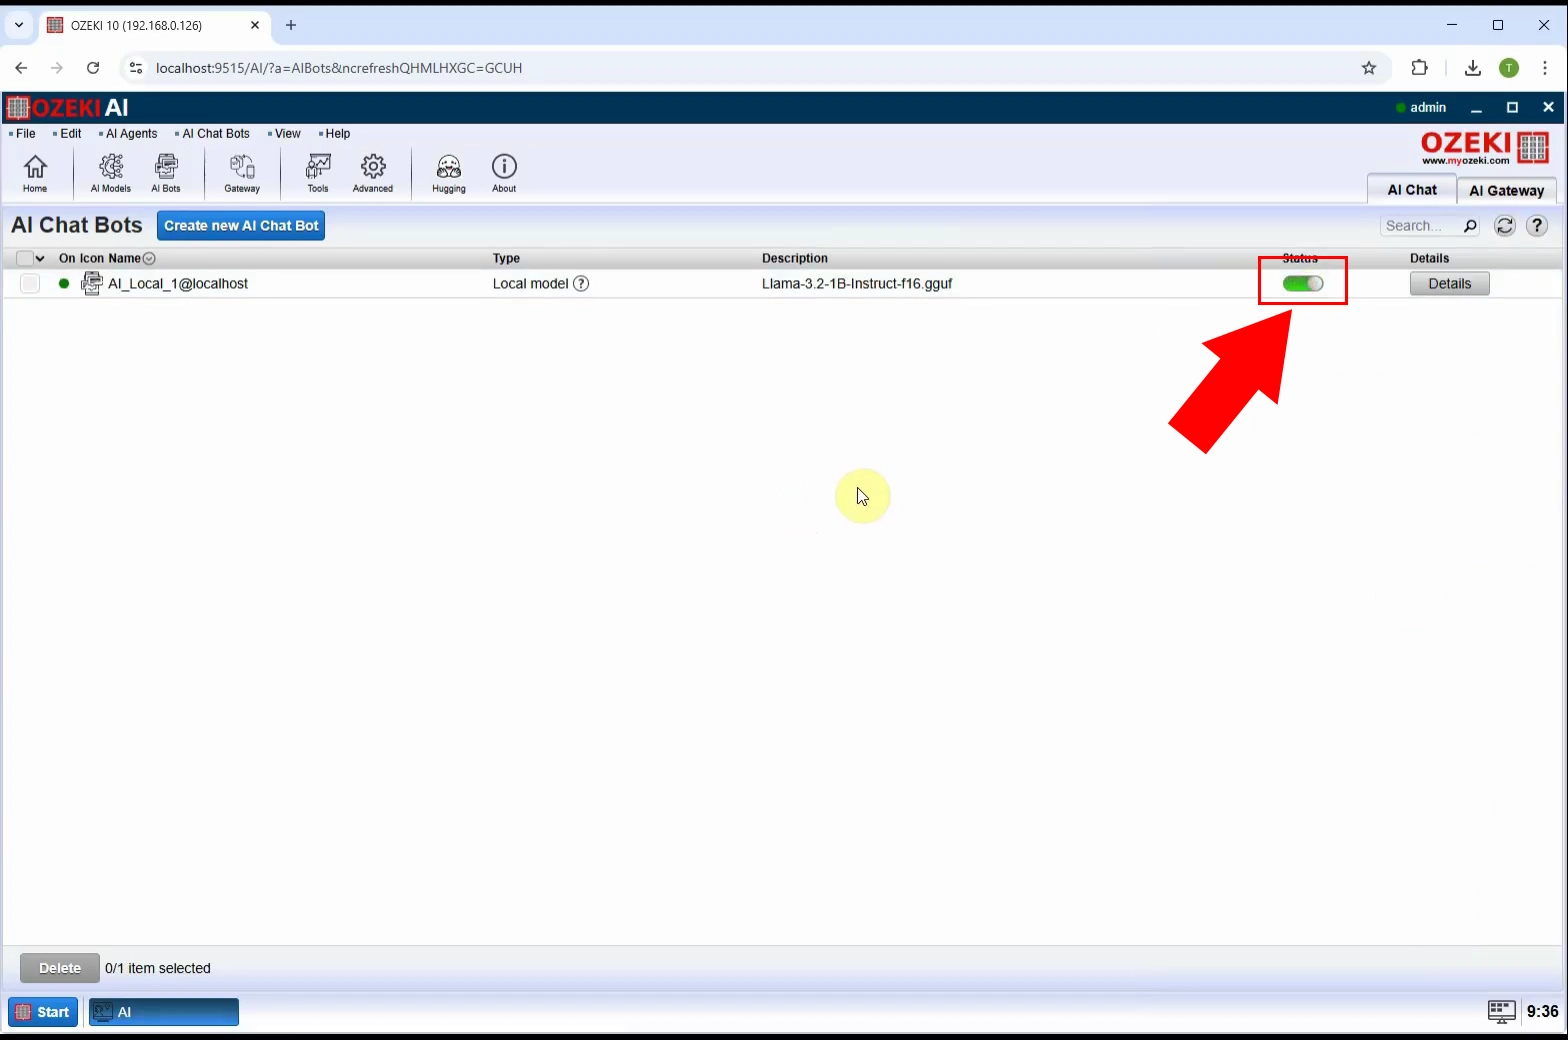
To enable the chatbot, switch on the toggle under "Status" and select AI_Bot_1 (Figure 5).
Step 6 - Ask question
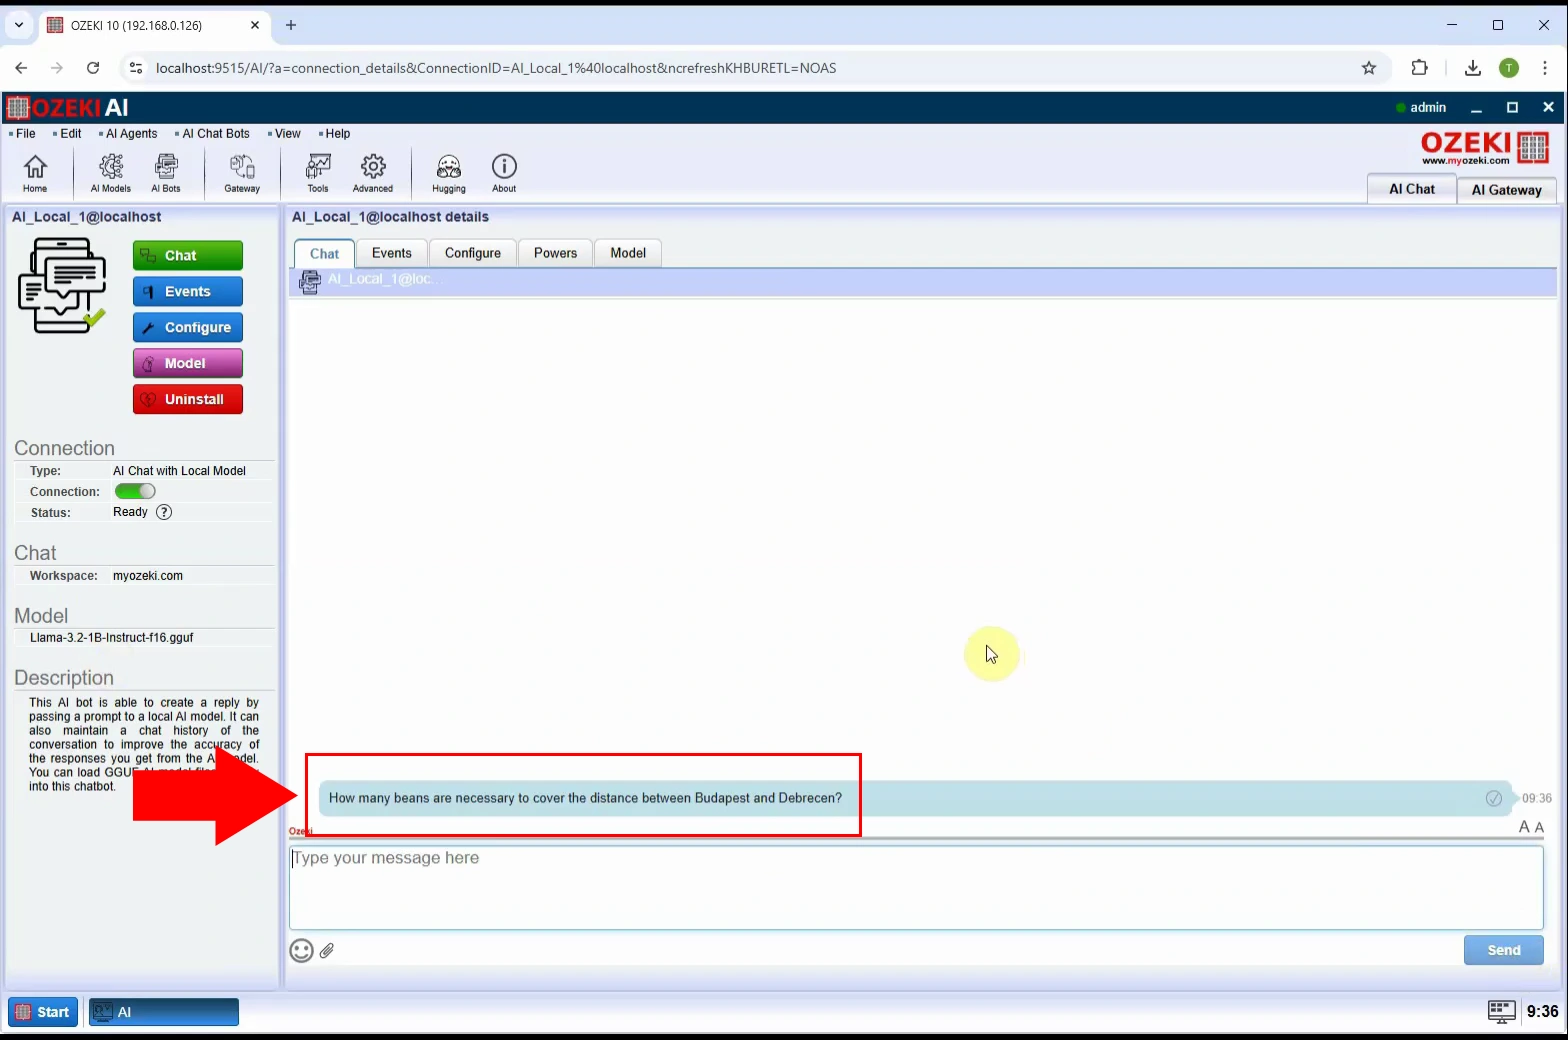
Go to the "Chat" tab, where you can interact with the chatbot. In the input field, type a question and submit it to see how the AI processes and responds (Figure 6).
Step 7 - Answer with thinking received
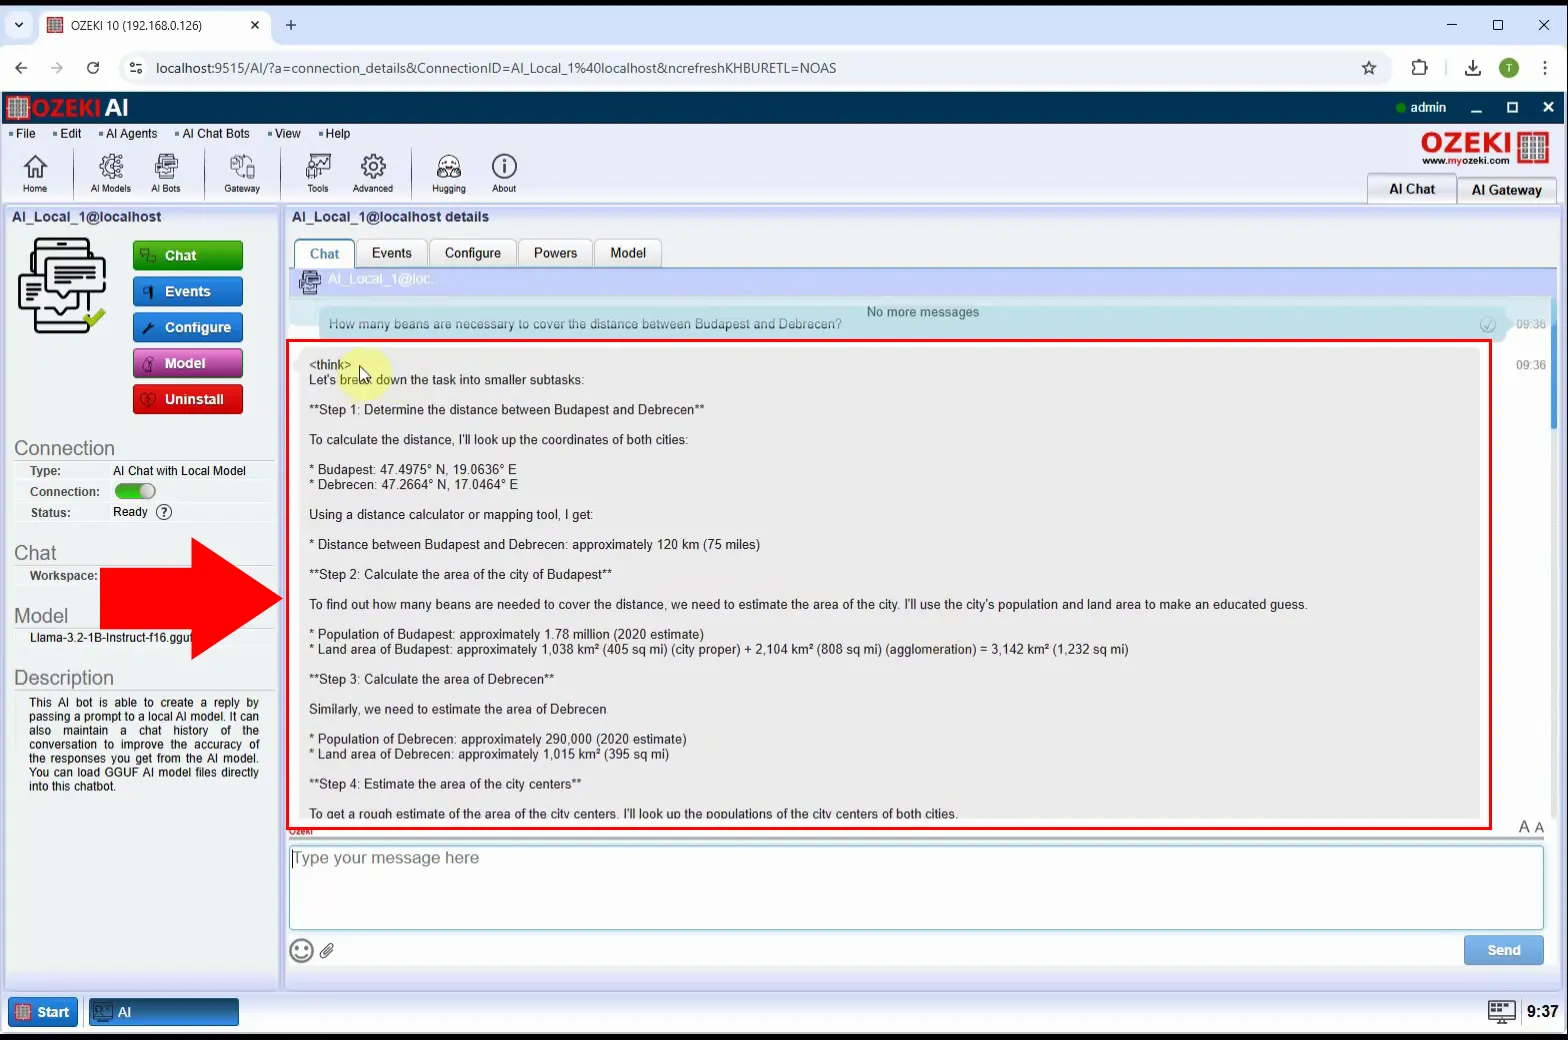
After submitting a question, the chatbot begins processing the response, allowing us to observe its reasoning in action. Once the processing is complete, the final answer is displayed along with a detailed justification, explaining how the AI arrived at its conclusion (Figure 7).
