How to run AI prompts in Linux bash shell
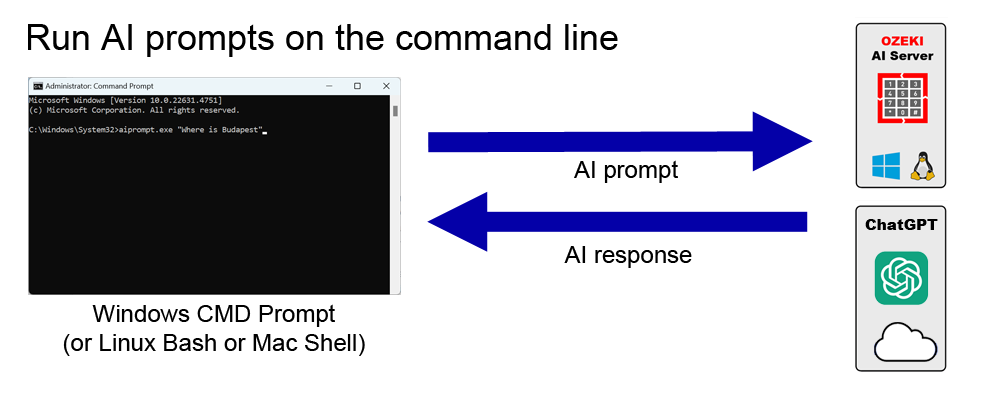
This guide will show you how to run AI prompts directly from the Linux bash shell using the AIPrompt command line tool. With AIPrompt, you can easily send requests to AI models hosted on platforms like Ozeki AI Server or OpenAI (ChatGPT). The tool allows you to create HTTP API requests, making AI communication seamless and efficient. Let's get started!
Download
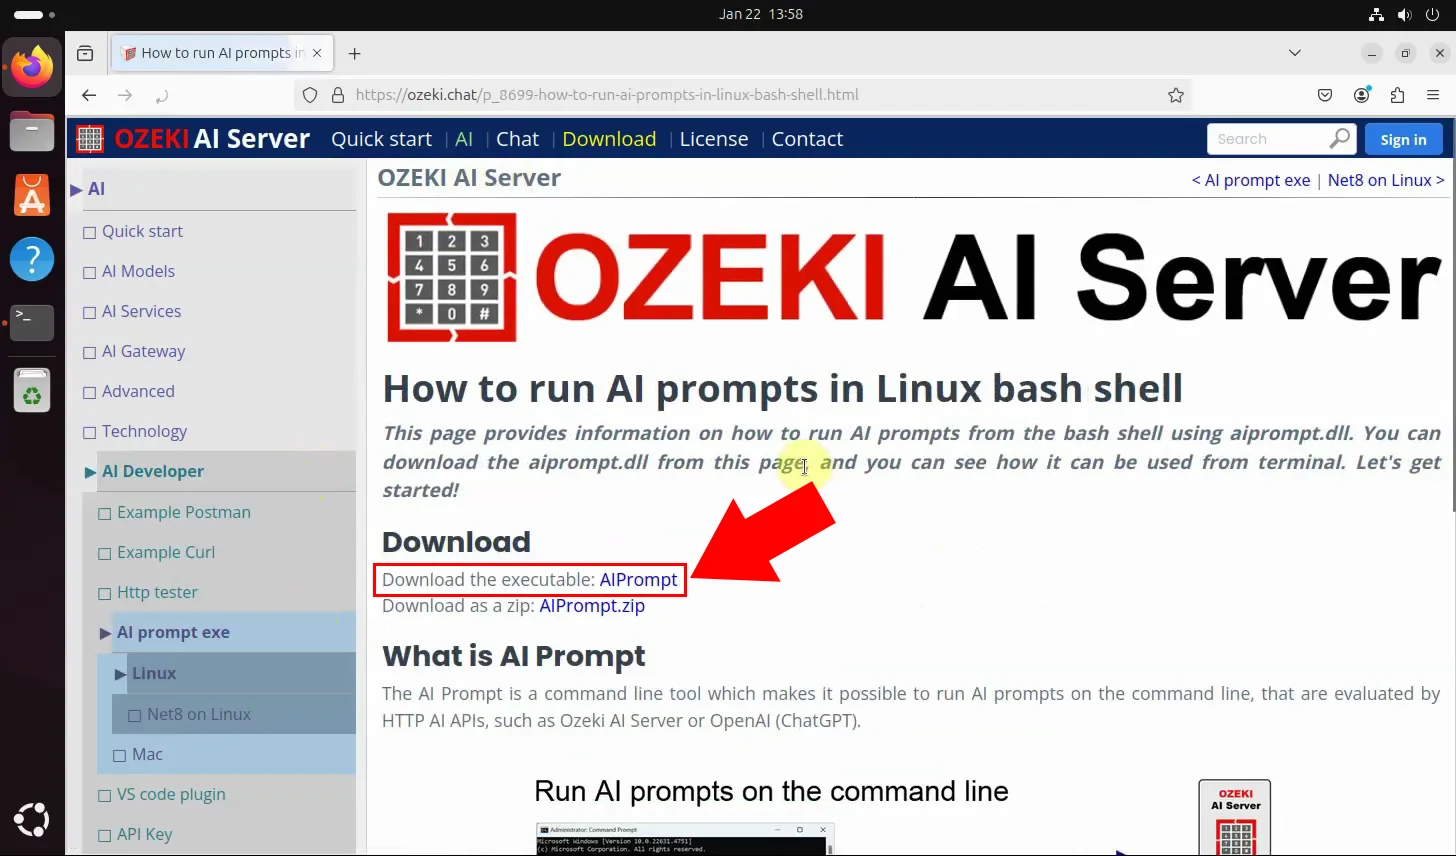
Download the executable: AIPrompt
Download as a zip: AIPrompt.zip
What is AI Prompt?
The AI Prompt is a command line tool which makes it possible to run AI prompts on the command line, that are evaluated by HTTP AI APIs, such as Ozeki AI Server or OpenAI (ChatGPT).

Github
This project is available on Github with full source code under MIT license. Please take a look at the Github project:
https://github.com/ozekiweb/AIPromptExeFeatures:
- Lightweight: Allows users to send prompts directly to HTTP AI APIs from the command line.
- Flexible: Read prompts from Standard I/O, send a simple prompt or customize your request using JSON, use HTTP and HTTPS as well
- Dual API Support: Supports Ozeki 10 HTTP API and OpenAI API.
- Configurable: Easy to set your preferences via command-line arguments and environment variables.
- Logging Mode: Provides detailed logging to facilitate debugging and monitoring.
- Interactive Mode: Chat with an LLM by sending multiple prompts through HTTP
- Fast deployment: Ready to use, self-contained executable file is available to download.
- Open Source: This tool is fully open sourced, enabling users to build, inspect, and modify the source code according to their needs
How to run AI Prompt from the terminal (Quick Steps)
To run AI Prompt from the terminal:
- Download AI Prompt
- Create HTTP API user in Ozeki
- Send a prompts using HTTP API user
How to download Ozeki AI Prompt and send prompt using HTTP API (Video tutorial)
In this video tutorial, you will learn how to download, set up, and use Ozeki AI Prompt to send requests to an AI model via HTTP API. This step-by-step guide will show you how to properly configure the tool in a Linux bash shell, making it an effective method for running AI prompts directly from your terminal.
Step 1 - Download AIPrompt from the website
The first step is to download the AIPrompt executable from the official website. You can choose to download the file as an executable or as a zip file. Once downloaded, save the file to your preferred directory, such as the Downloads folder (Figure 1).

Step 2 - Add executable permission to AIPrompt
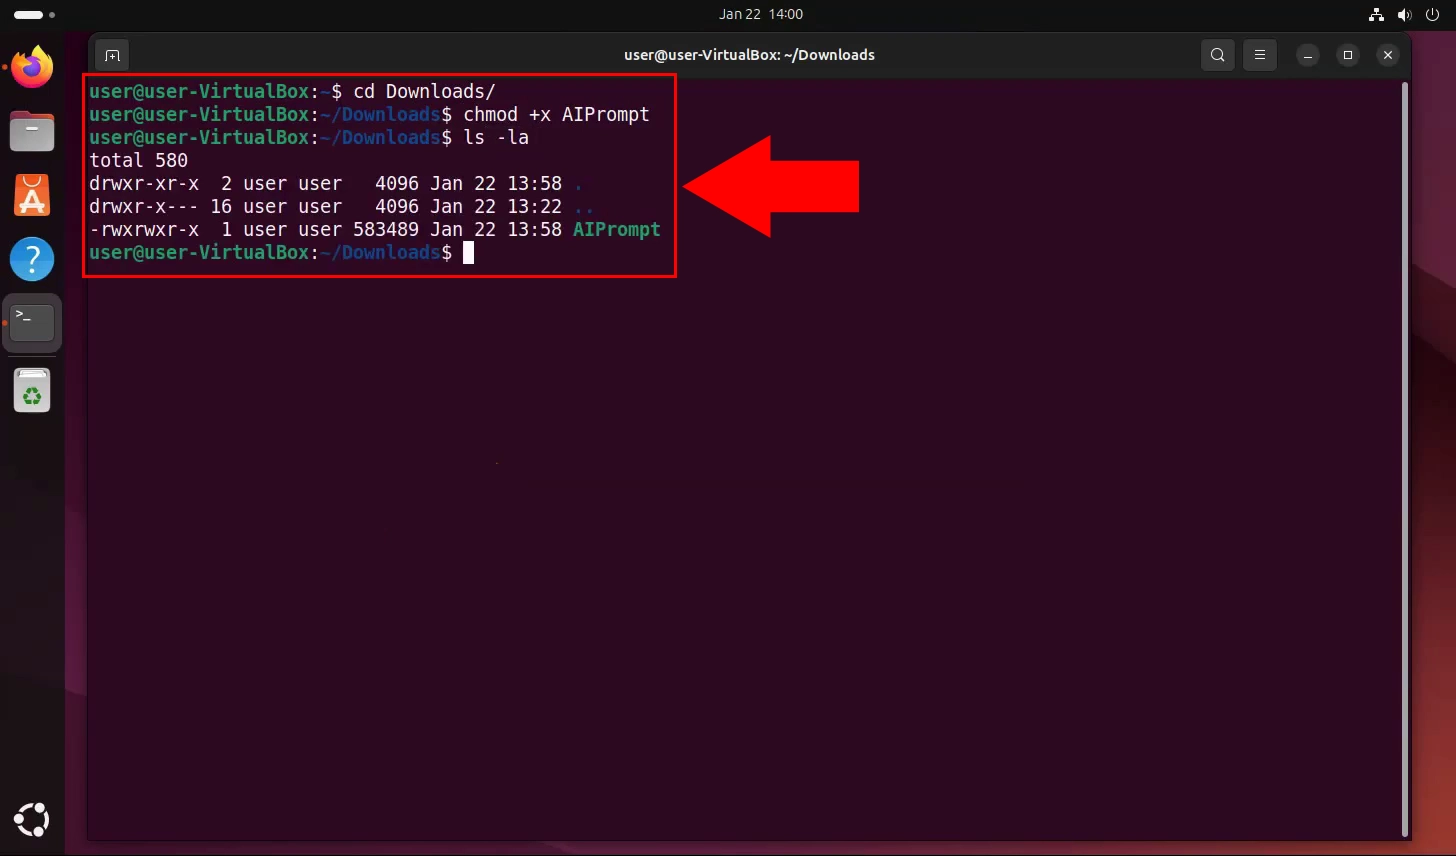
Before running the tool, you need to grant executable permission to the file. This is done by navigating to the directory where the file is located and running the following commands:
cd Downloads
chmod +x AIPrompt
The cd command changes your current directory to the Downloads folder where the file was saved, while the chmod +x AIPrompt command makes the file executable, allowing it to be run from the terminal (Figure 2).

Step 3 - Send request to HTTP API with AIPrompt
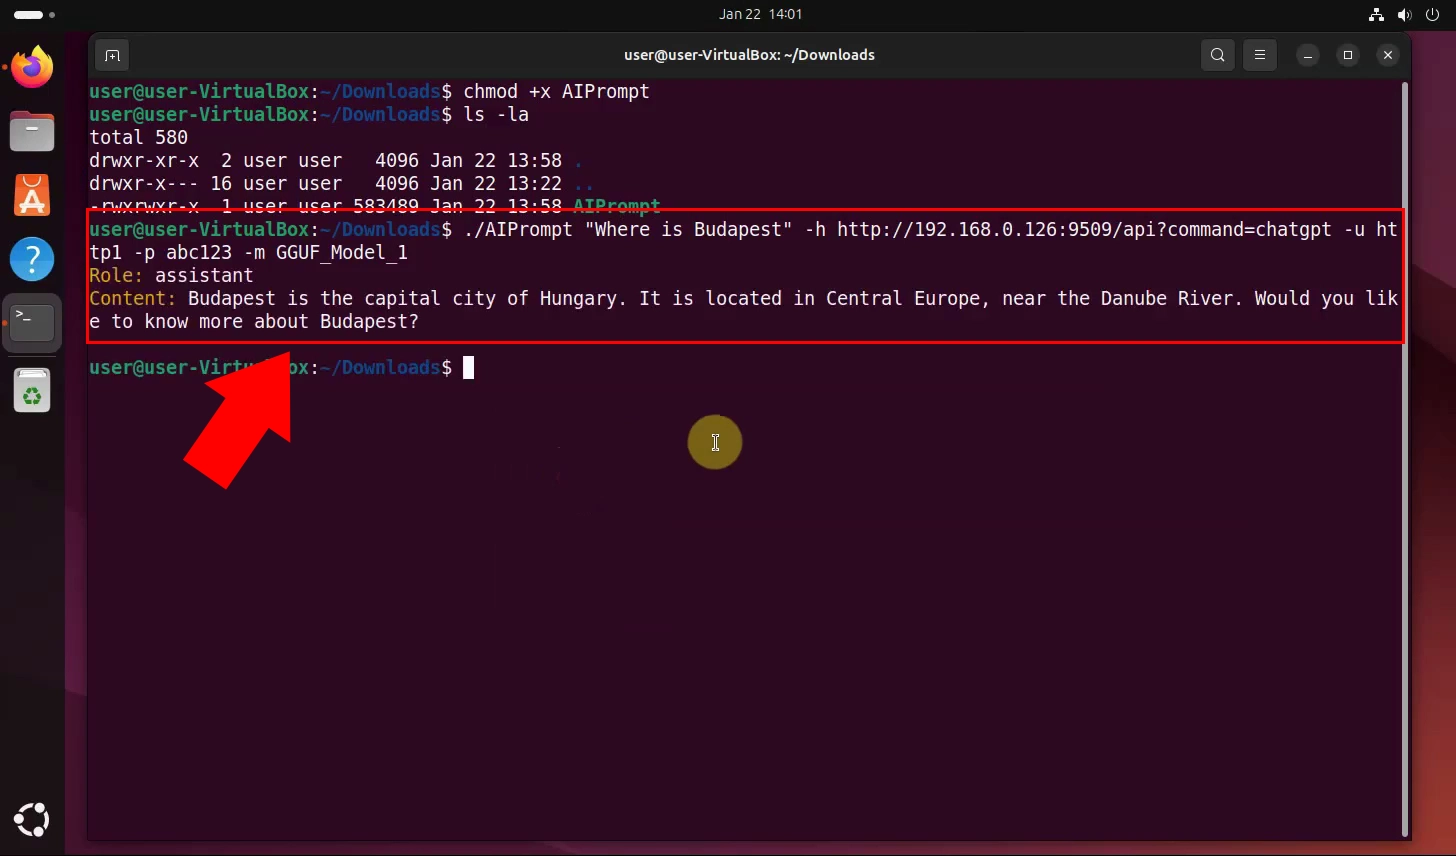
Once the permissions are set, you can start sending requests to the AI server by using the following command:
./AIPrompt "Where is Budapest" -h http://192.168.0.126:9509/api?command=chatgpt -u http1 -p abc123 -model GGUF_Model_1
This command sends a prompt to the HTTP API with the following parameters:
- "Where is Budapest?" – The prompt text you want the AI model to process.
- -h – Specifies the host URL of the AI server (in this case, Ozeki AI Server).
- -u – The username required for authentication.
- -p – The password required for authentication.
- -model – Specifies the model name (e.g., GGUF_Model_1) you want to use for generating the response.


