How to setup .Net on Ubuntu Linux
This guide will show you how to install and configure .Net on Ubuntu Linux. The process includes updating repositories, installing necessary dependencies, and setting up the .Net 8.0 runtime to ensure smooth operation of .Net applications on your Linux system.
What is Ubuntu Linux?
Ubuntu Linux is a popular open-source operating system based on Debian, known for its user-friendliness, stability, and compatibility with a wide range of software and hardware. It is commonly used by developers for software development, server management, and cloud computing.
What is .Net?
.Net is a free, open-source, and cross-platform framework developed by Microsoft that supports the development and execution of applications across various platforms, including Windows, Linux, and macOS. It provides a powerful runtime environment, libraries, and tools for building web, desktop, cloud, and mobile applications.
How to setup .Net on Ubuntu Linux (Quick Steps)
- Update Repositories
- Install .Net 8.0 Dependencies
- Install .Net 8.0 Runtime
- Check Installed Runtimes
How to setup .Net on Ubuntu Linux (Video tutorial)
In this video tutorial, you will learn how to install .Net 8.0 on Ubuntu Linux by following a simple, step-by-step process. The tutorial will cover updating your system’s repositories, installing the necessary dependencies, and setting up the .Net runtime environment. By the end of the video, you will be able to successfully run .Net applications on your Ubuntu Linux system.
Step 1 - Update repositories
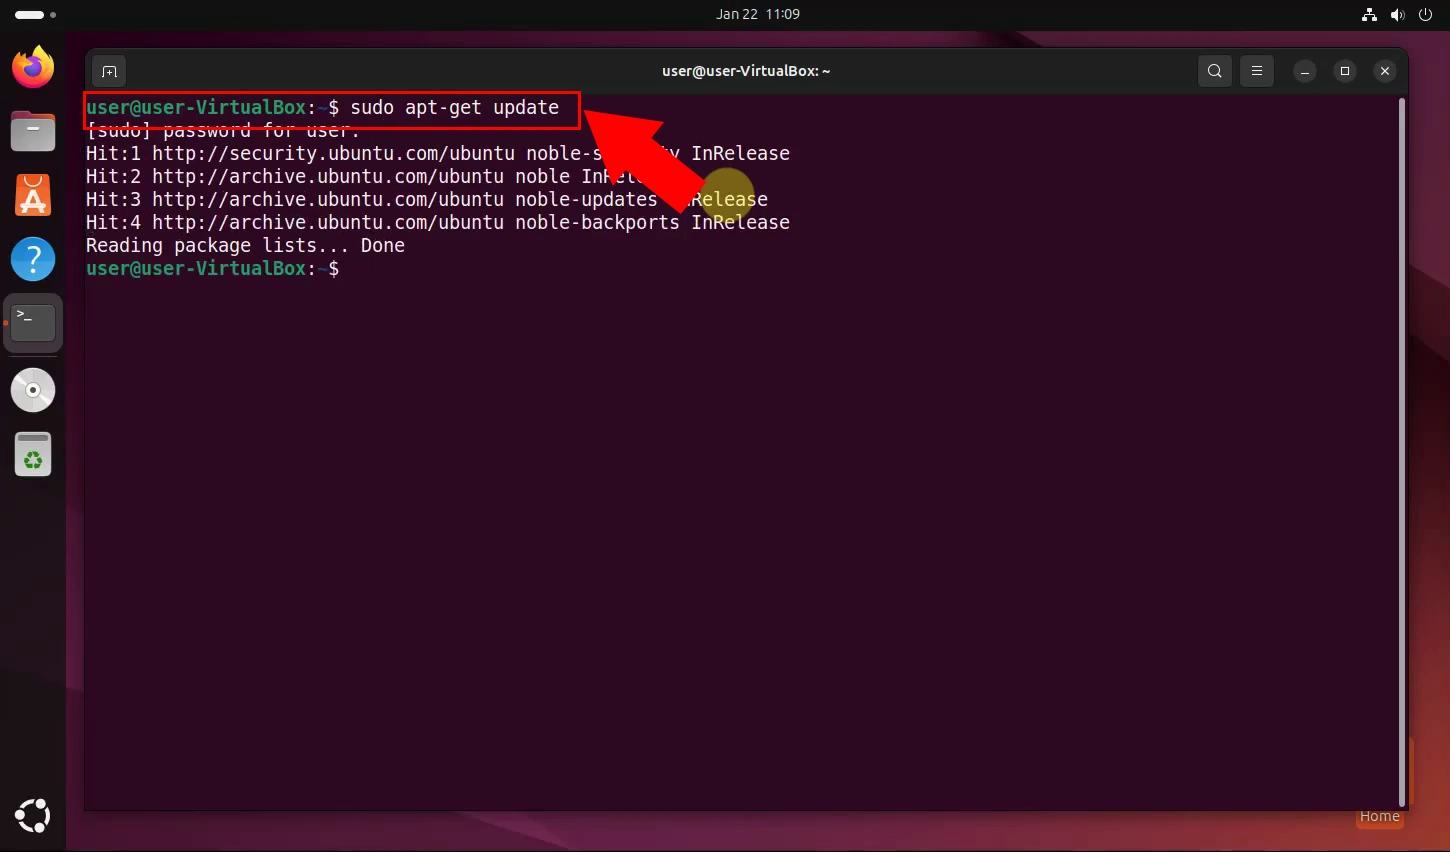
Before installing .Net, it’s essential to make sure your system’s package list is up-to-date. To do this, open your terminal and run the following command:
sudo apt-get update
This command fetches the latest package lists from the repositories, ensuring that your system will install the most recent versions of all dependencies (Figure 1).

Step 2 - Install .Net 8.0 dependencies
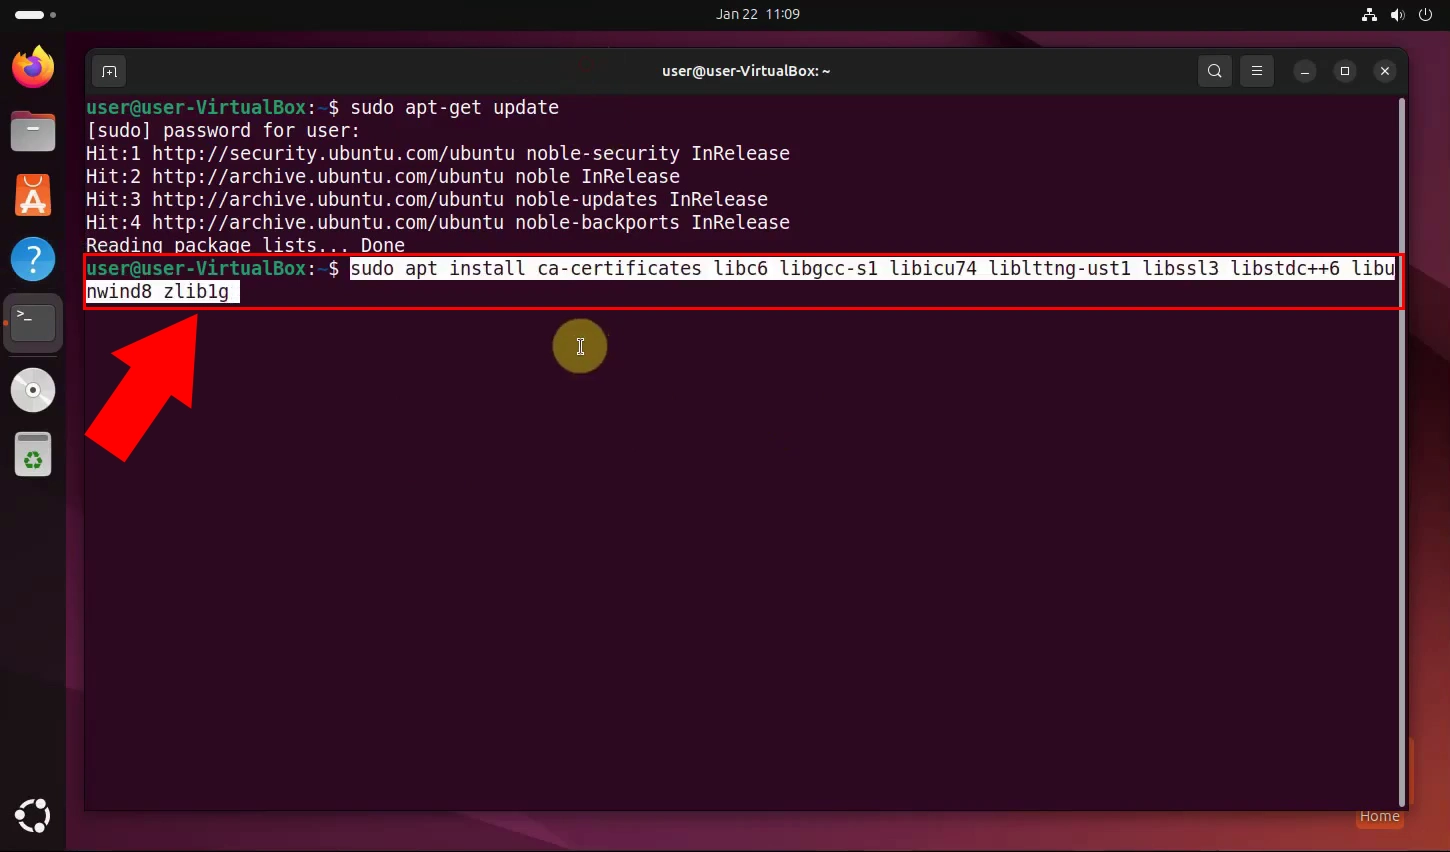
To install .Net 8.0, certain dependencies are required to ensure compatibility and proper functioning. Run the following command to install them:
sudo apt install ca-certificates libc6 libgcc-s1 libicu74 liblttng-ust1 libssl3 libstdc++6 libunwind8 zlib1g
This command installs all necessary libraries and packages, which provide essential components required by .Net to function correctly (Figure 2).

Step 3 - Install .Net 8.0 runtime
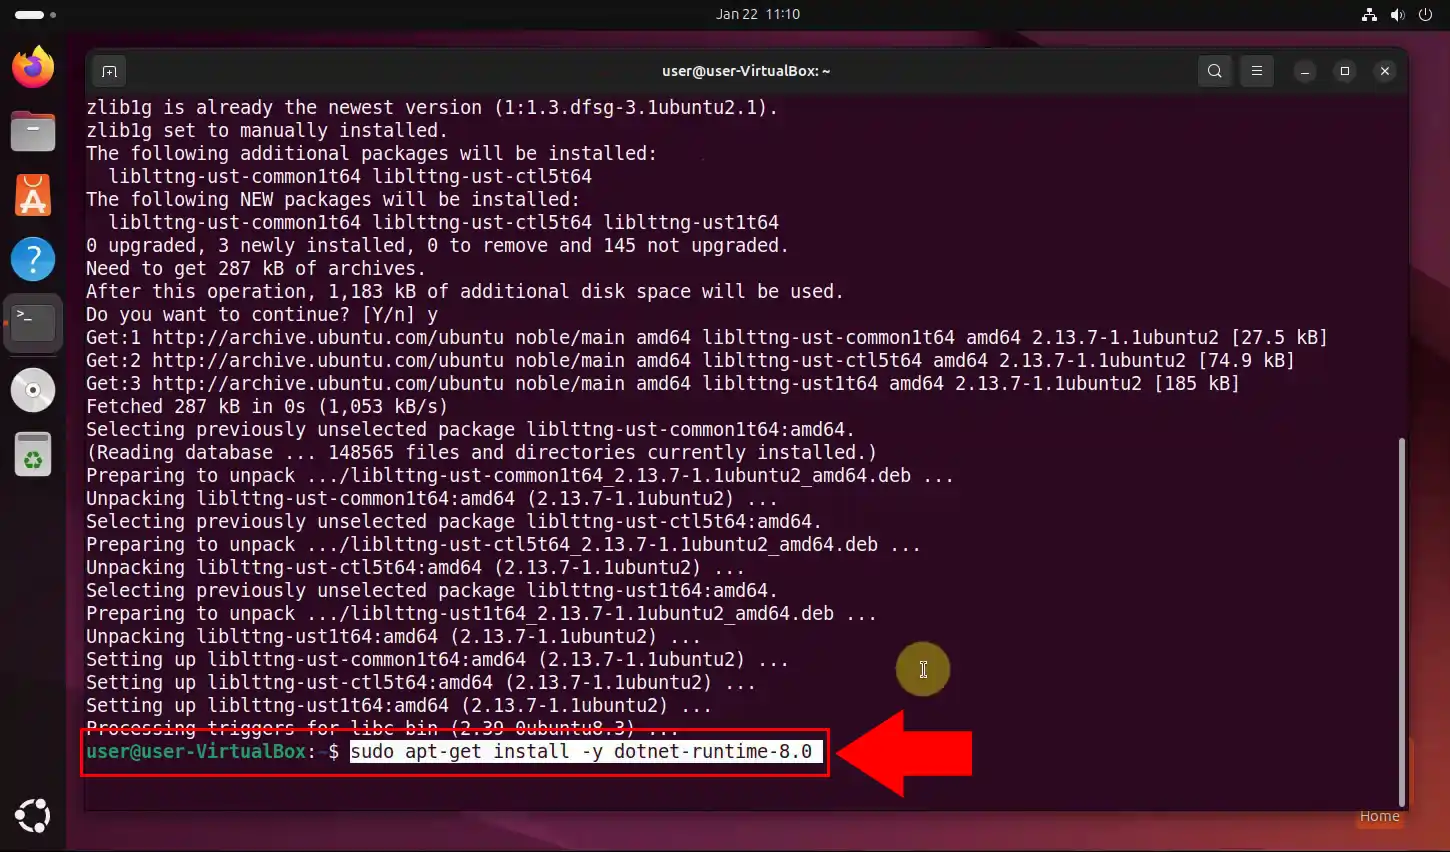
After installing the dependencies, you can proceed to install the .Net 8.0 runtime by running the following command:
sudo apt-get install -y dotnet-runtime-8.0
This command downloads and installs the .Net runtime on your system, allowing you to run .Net applications smoothly. The -y flag ensures automatic approval of installation prompts (Figure 3).

Step 4 - Check installed runtimes
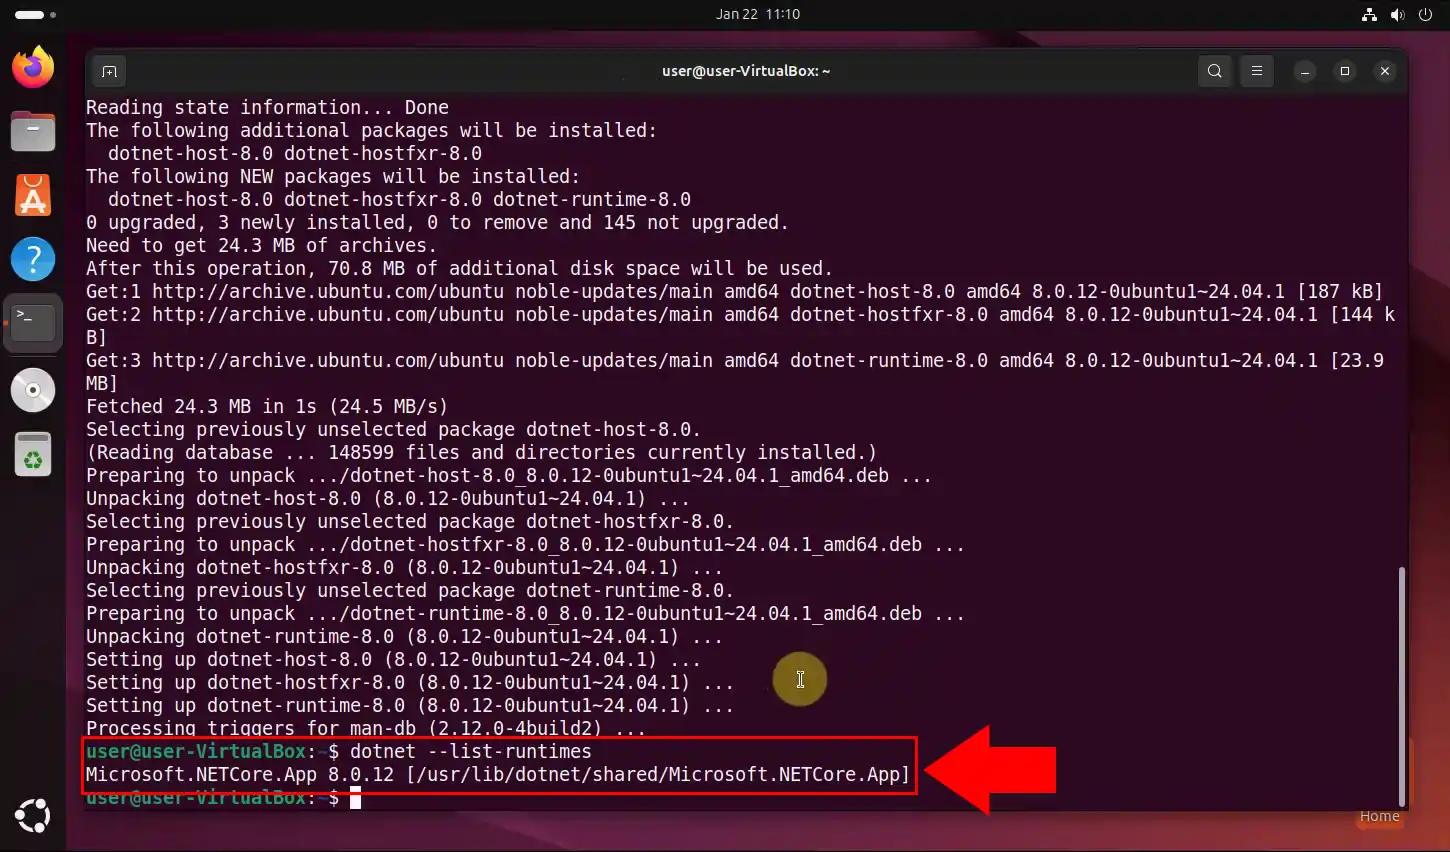
To verify that the installation was successful and to see all installed .Net runtimes on your system, use the following command:
sudo dotnet --list-runtimes
This command will display a list of all installed .Net runtimes, including their version numbers. If the installation was successful, you should see dotnet-runtime-8.0 listed (Figure 4).


