Setup asterisk PBX
Asterisk PBX is one of the most well-known platforms for VoIP services. Asterisk PBX is highly regarded for its flexibility and extensive features, making it suitable for both small businesses and large enterprises looking to customize their communication systems. In this tutorial, you will learn about the step-by-step process of how to set up your Asterisk PBX server in an Ubuntu operating system. It guides you through the installation process, and along with that, you will also learn how to create SIP users and dial plans for your service.
What is Asterisk PBX?
Asterisk PBX (Private Branch Exchange) is an open-source software framework used for building and managing communication applications, specifically for VoIP (Voice over Internet Protocol) systems. It offers flexible call routing, multi-protocol support, huge scalability, and many customization options.
How to setup Asterix PBX (Quick Steps)
- Open your operating system
- Open a command terminal
- Update your system libraries
- Install Asterisk
- Open Asterisk folder
- Add SIP users to your service
- Create dial plans
- Run your Asterisk service
Setup asterisk PBX (Video tutorial)
The video below will guide you through the installation and configuration process of Asterisk on Ubuntu. You will learn how to install Asterisk on your operating system, add SIP users, and create dial plans for your server. Finally, you will discover how to run your Asterisk service. By following these steps, you will have a fully functional Asterisk setup ready for handling VoIP communications!
Step 1 - Install Asterisk
The prerequisites of this guide is to boot your system, and open a command terminal. You can do that in many ways, but the easiest way is to press Ctrl + Alt + T on your keyboard. This opens a new terminal instantly.
After you are done with the prerequisites, your first step is to update your system libraries. This is not a strict requirement, but it's highly recommended to avoid compatibility issues and keep your server stable and secure. Please note that these steps require administrative privileges, so you’ll be prompted to enter your admin password. After you've updated your system libraries, install Asterisk with the sudo apt-get install asterisk command (Figure 1). Before the installation begins, you will be asked if you want to continue with the process or not. Just type "y" and press enter. Downloading the packages might take a few seconds, but eventually Asterisk will be successfully installed to your system.
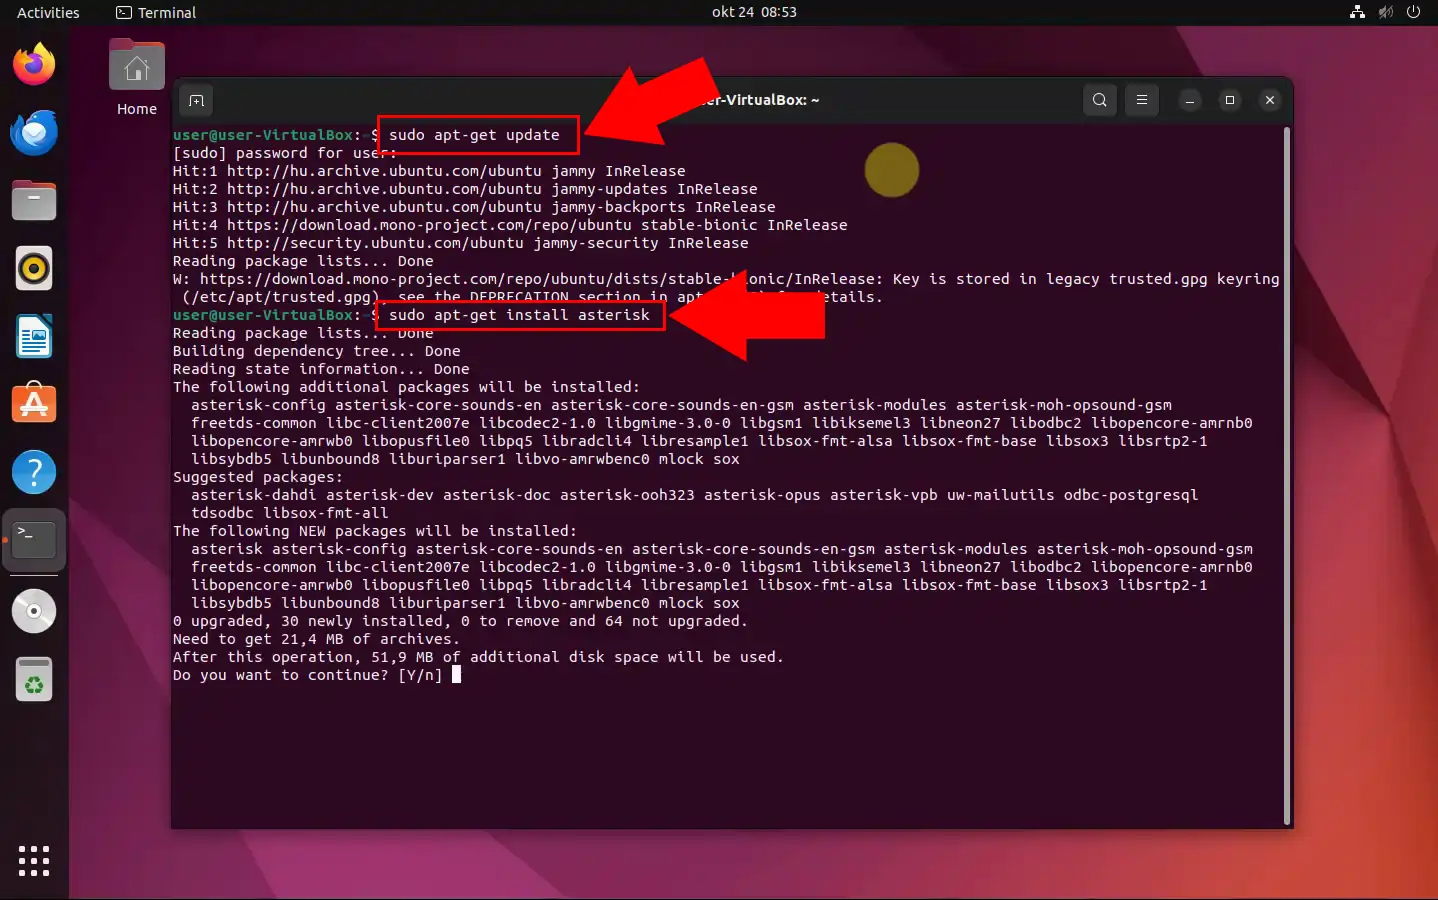
Linux commands to update your system libraries and install Asterisk
sudo apt-get update
sudo apt-get install asterisk
Step 2 - Open Asterisk folder
By default, the configuration folders will be installed in the /etc/asterisk/ directory. Use the cd command to open the folder. You can see the whole command in Figure 2, or the source code below.
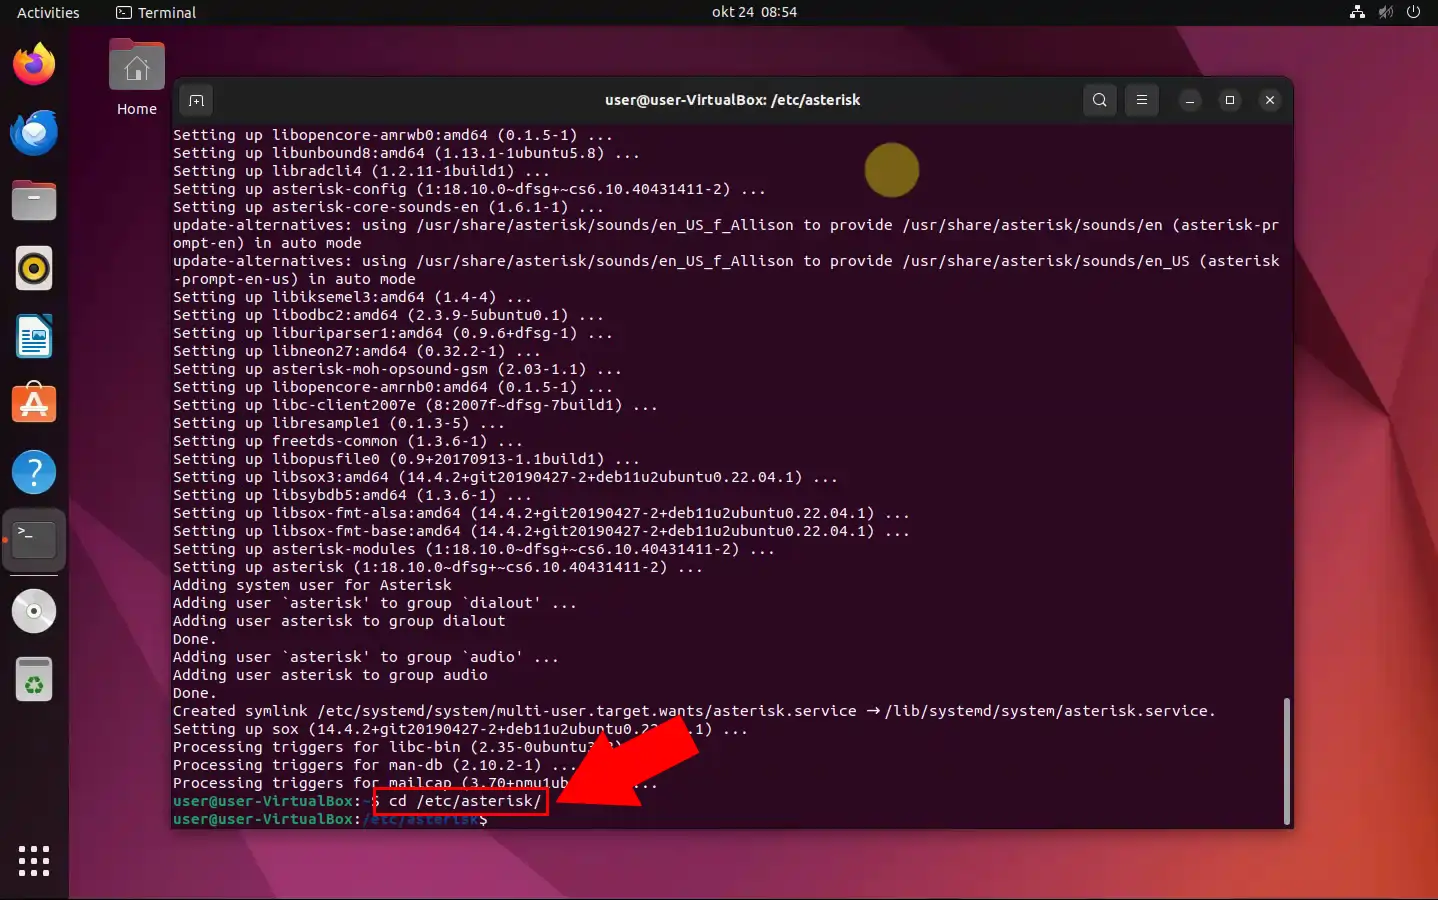
Linux command to open the Asterisk folder
cd /etc/asterisk
Step 3 - Create SIP users
To create SIP users, open the stp.config file with a text editor. You can use any text editor you are familiar with, but this example uses Nano. Nano is a very simple, user-friendly text editor, and it's very common for Unix and Linux systems.
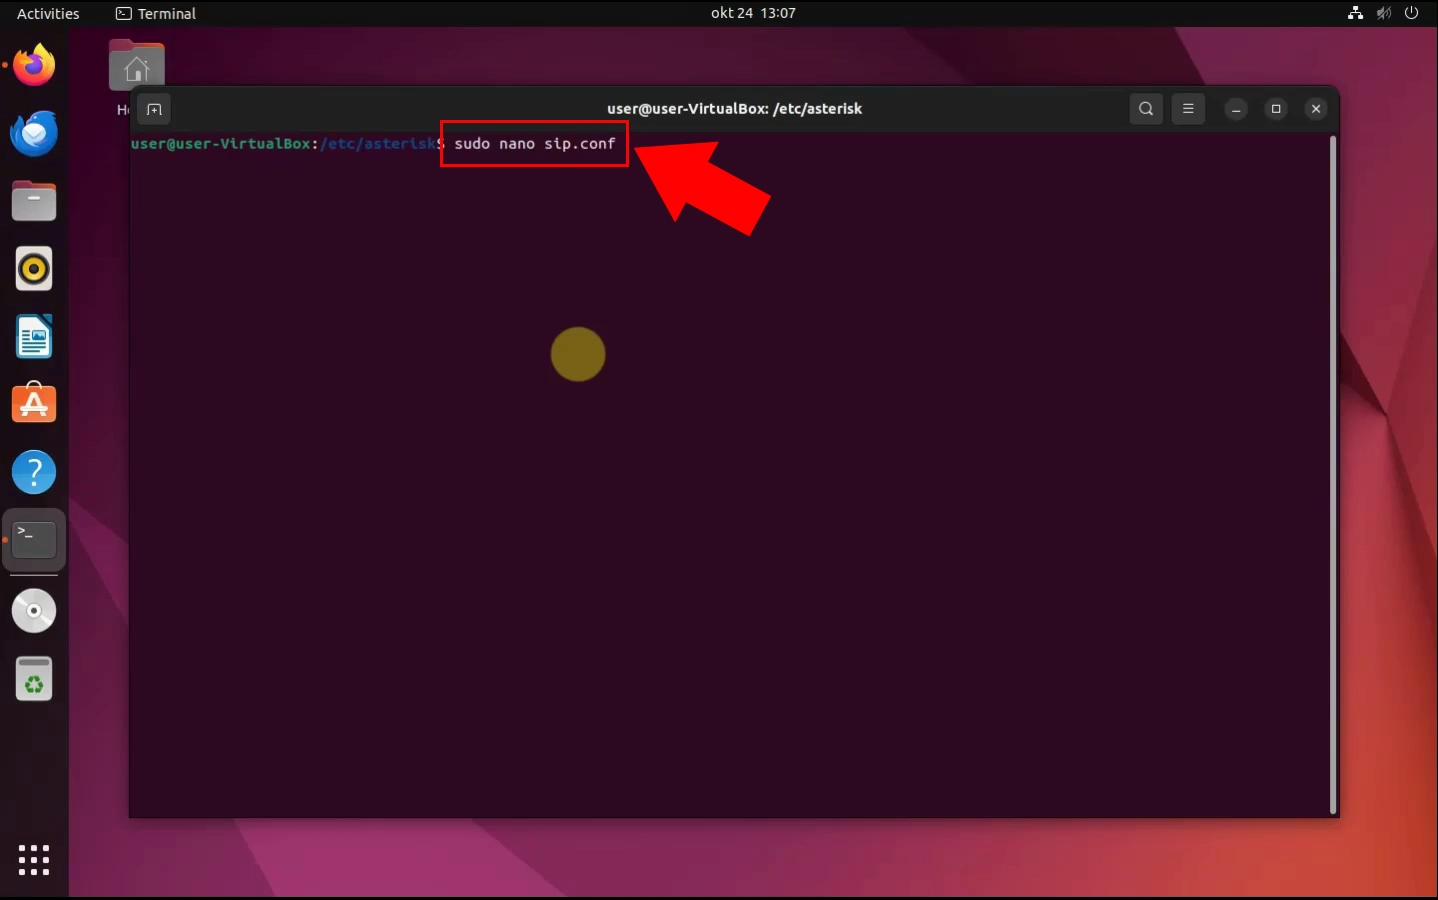
Linux command to open the sip.conf file with Nano text editor
sudo nano sip.conf
Once the file is opened, copy and paste the code snippet below Figure 4. This will set up three separate SIP users within the Asterisk system. After you're done with the third step, you can close Nano by pressing Ctrl + X.
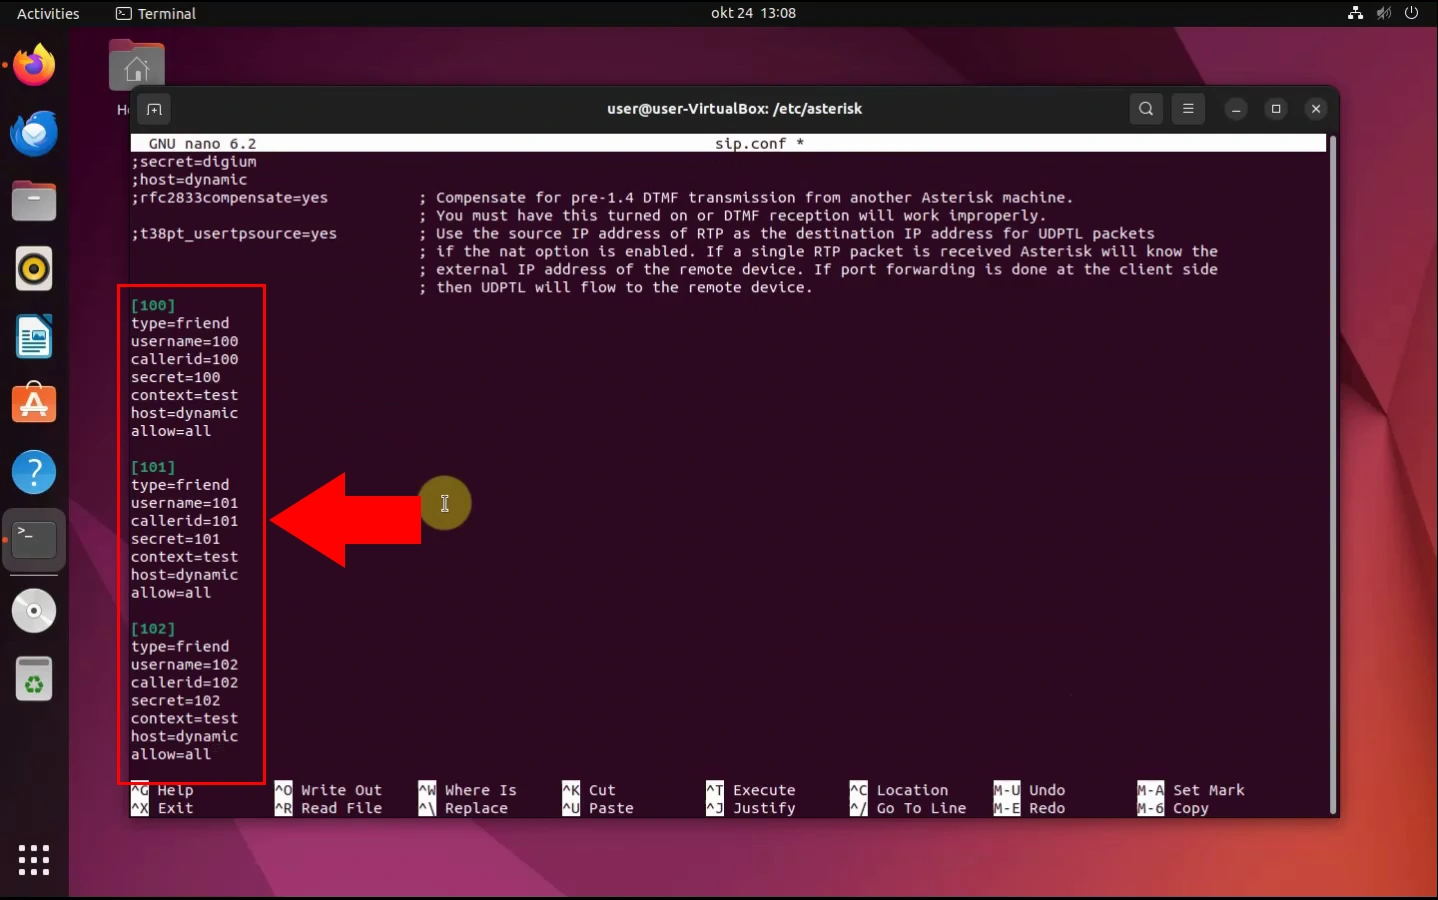
Code snippet to create users in Asterisk
[100]
type=friend
username=100
callerid=100
secret=100
context=test
host=dynamic
allow=all

[101]
type=friend
username=101
callerid=101
secret=101
context=test
host=dynamic
allow=all

[102]
type=friend
username=102
callerid=102
secret=102
context=test
host=dynamic
allow=all
Step 4 - Create dial plans
While still in the Asterisk folder, open the extensions config file (Figure 5). As before, you can see the command below.
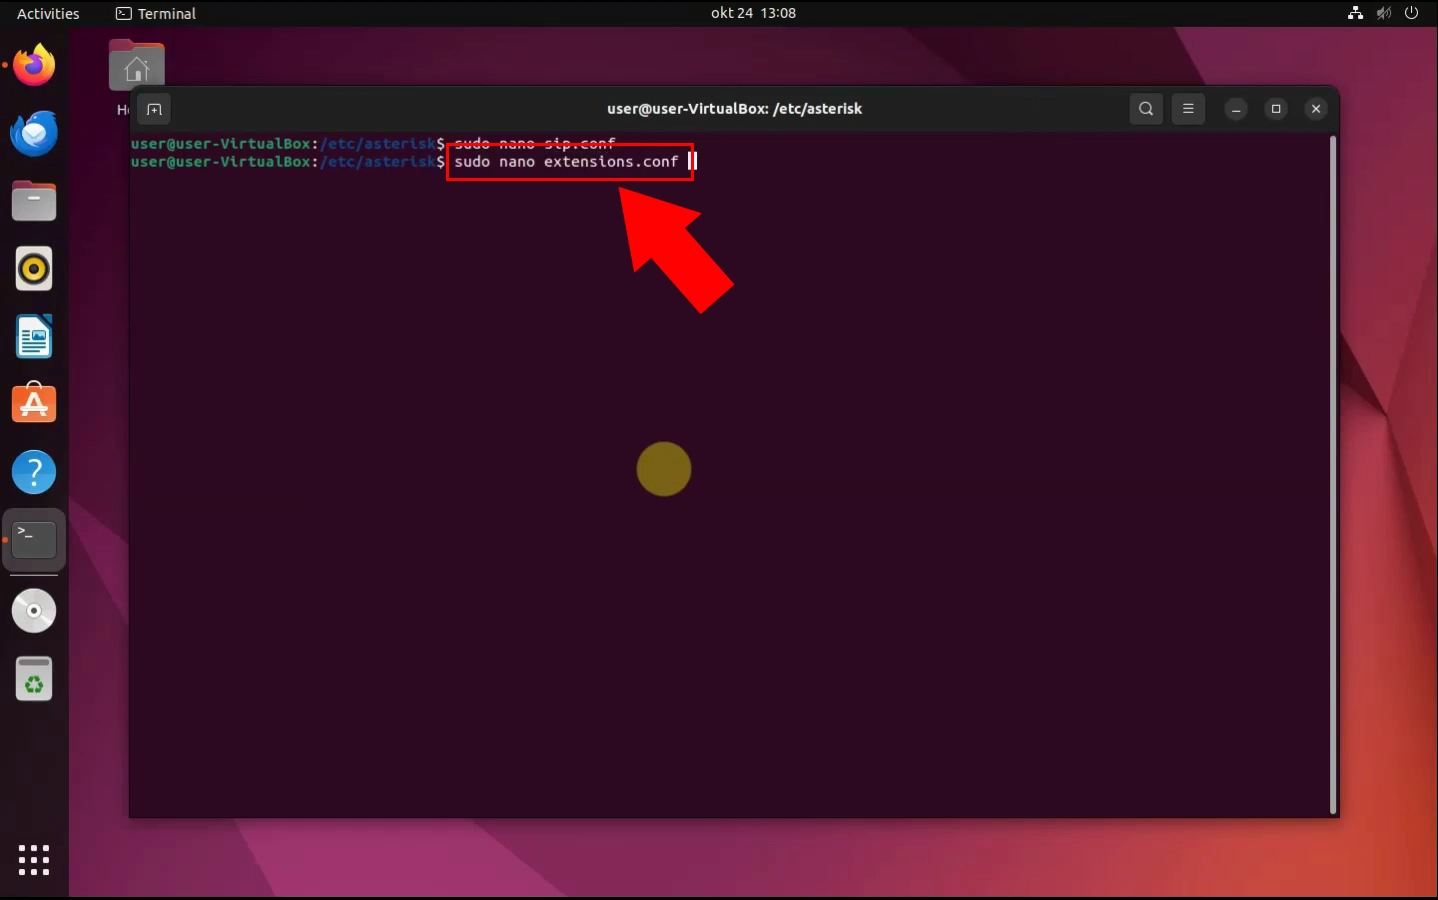
Linux command to open the extensions.conf file with Nano
sudo nano extensions.conf
After you've opened the configuration file, you can create your dial plan. Just simply navigate to the end of the file and add the code snippet below (Figure 6). This dial plan configuration allows incoming calls to the extensions 100, 101, and 102 to be routed directly to the corresponding SIP users defined in the sip.config file. When someone dials extension 100, for example, Asterisk will initiate a call to the SIP device associated with user 100. The same applies to extensions 101 and 102. Save the changes and close your text editor.
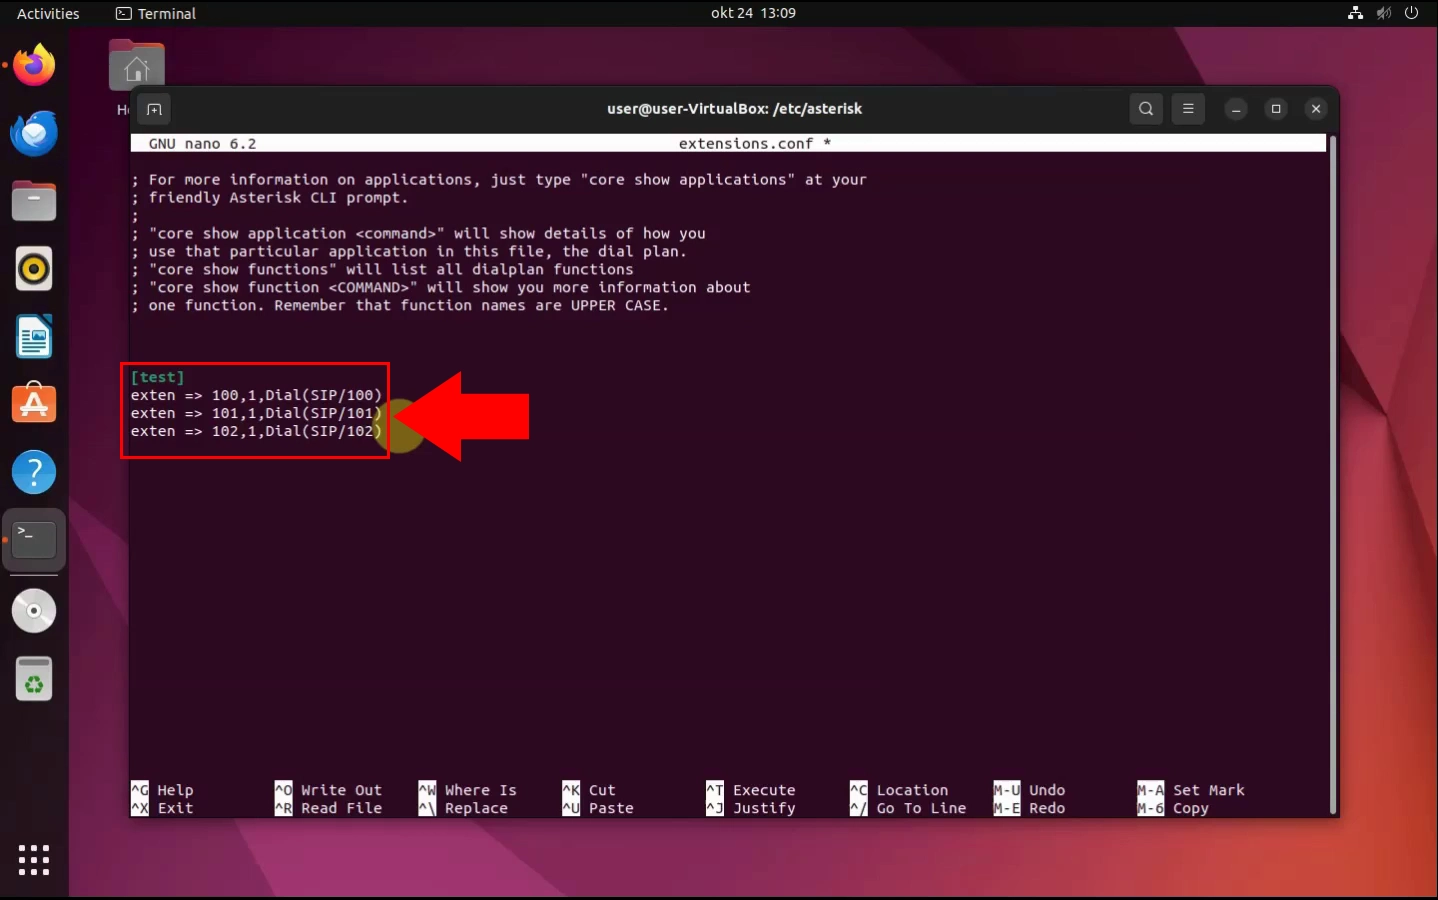
Code snippet to create dial plans in Asterisk
[test]
exten => 100,1,Dial(SIP/100)
exten => 101,1,Dial(SIP/101)
exten => 102,1,Dial(SIP/102)
Step 5 - Run Asterisk service
If you've completed the previous steps correctly — installing Asterisk, adding SIP users, and creating dial plans — the final step is to start the Asterisk service! You can do that by typing the Linux command below (Figure 7). Now your service is all set and ready for use!
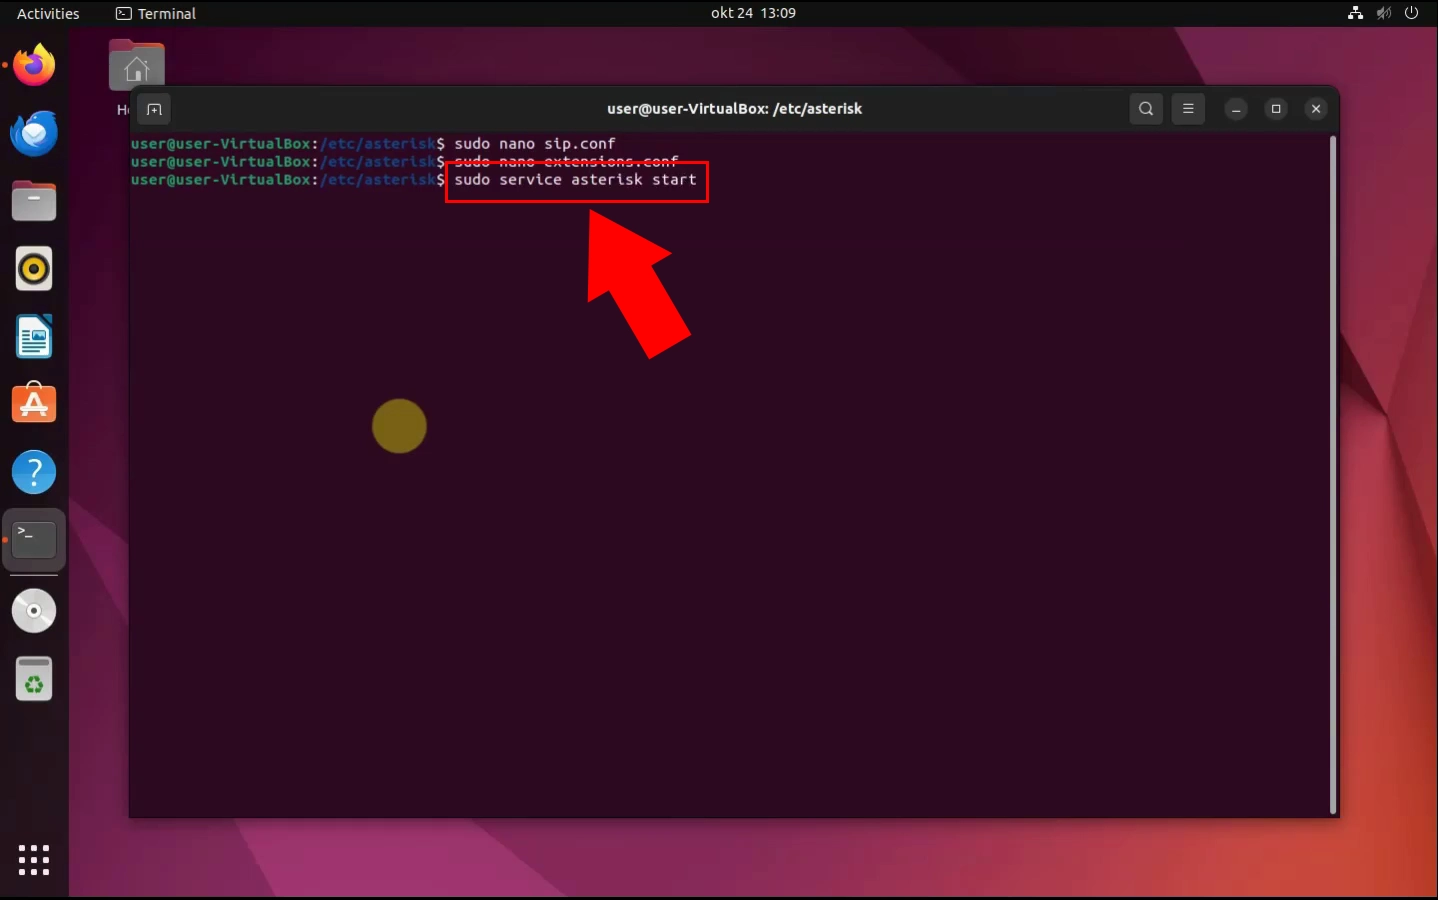
Linux command to run Asterisk service
sudo service asterisk start
FAQs
Is Asterix PBX free?
Yes, Asterix PBX is completely free and open source.
Does the setup work the same way in other operating systems?
Not entirely, since the commands might differ in other operating systems, but generally the steps are similar.
Final thoughts
With this guide, hopefully, you successfully managed to set up your own Asterix PBX server in a matter of minutes. We aimed to make the process as straightforward as possible by including both a video tutorial and a step-by-step guide with screenshots.

